Setting Up Hermes: A Step-by-Step Guide
A beginner-friendly walkthrough for installing the Hermes local AI agent, patching the common incomplete install, and wiring up a provider (Kimi and MiniMax) — with every screen shown in order.
Hermes is an open-source AI agent from Nous Research that runs locally on your own machine — private, powerful, and able to use tools, browse the web, write code and more. Hermes One is the desktop app that wraps it in a friendly interface.
This guide walks you through a clean install from scratch, including the one step that trips most people up (an incomplete install), and how to wire up a provider — I'll use Kimi and MiniMax as examples, since the popular Chinese models aren't offered as defaults in the installer.
It's written for my classmates, so I've kept every screen in order. If you follow along top to bottom you'll end with a working chat.
Which model should you start with? My pick: MiniMax M3. It has a 1M-token context window and generous usage limits, so you can experiment freely while you're still finding your feet — long chats, large codebases and multi-step tasks won't hit a wall mid-way. That headroom matters a lot when you're learning and don't yet know how much you'll use. New sign-ups can get 10% off the MiniMax Token Plan with my referral link: Get 10% off MiniMax →
Before you start, you'll need:
- A Mac, Windows, or Linux machine (these screenshots are on macOS)
- A terminal you're comfortable opening (Terminal on macOS/Linux, PowerShell on Windows)
- An API key for whichever model provider you want to use (e.g. Kimi / Moonshot, MiniMax)
Part 1 — Install Hermes One
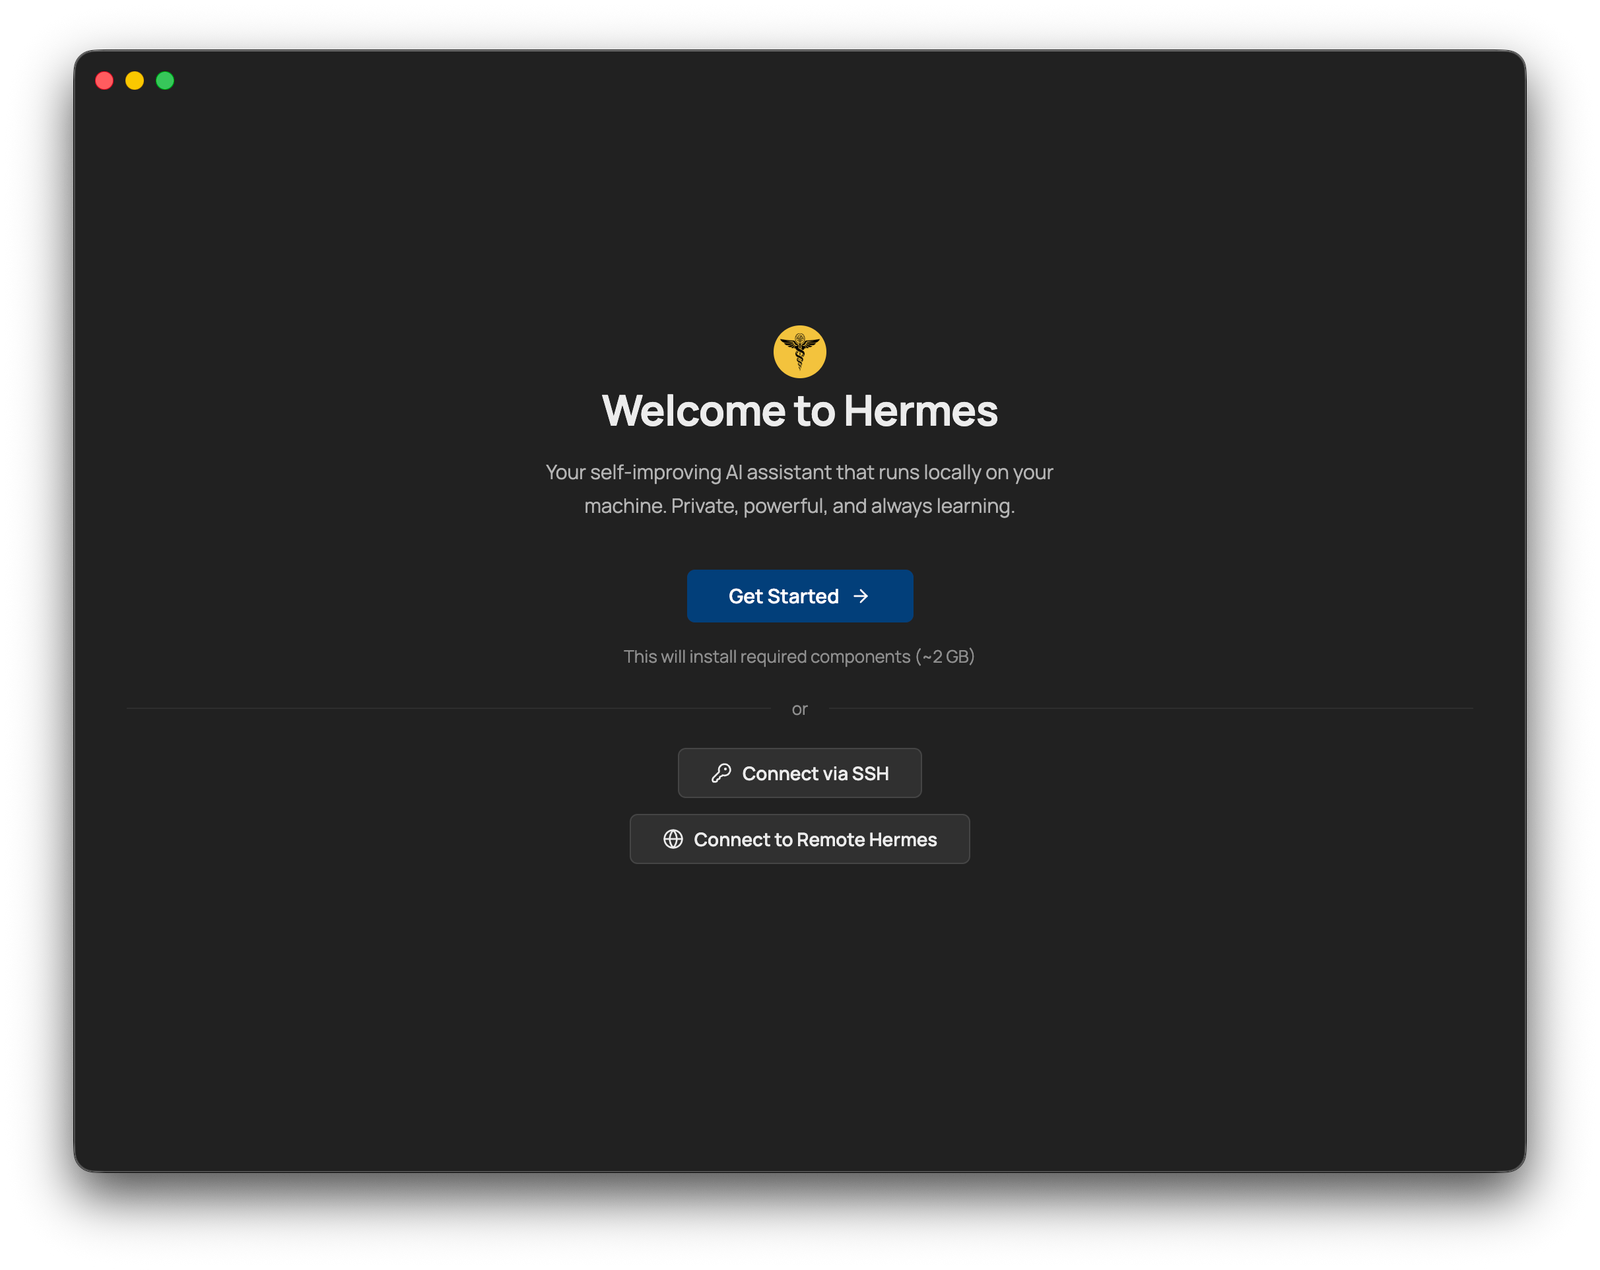
1. Open Hermes One. You'll see the welcome screen. Click Get Started. (This downloads the required components — around 2 GB.)

The Hermes One welcome screen with the Get Started button.
2. Choose where to install. I recommend keeping the default install directory (~/.hermes/hermes-agent). Click Install Hermes.

The "Before installing" screen showing the default install location.
3. Let it install. This pulls down dependencies like uv, Python, Node and Git, so it can take a while depending on your network and device.

Installation in progress at step 1 of 7, around 14%.
4. Watch around the 86% mark. This is where it clones the actual Hermes repo — and where the install can quietly fail or get interrupted. Don't worry if it does; we patch this in Part 2.

Installing dependencies at 86% — the point where the repo is cloned.
5. Set up your AI provider. When the installer asks, pick a provider. The popular Chinese models (DeepSeek, Kimi, MiniMax, etc.) aren't in this list. If you happen to have a key for one of the suggested providers, enter it here. Otherwise, just enter anything and press Continue to get to the next screen — we'll configure the real provider properly later.

The installer's "Set Up Your AI Provider" screen with provider options.
6. Finish setup. Hermes One opens. You'll likely see a banner saying "API Server Key not set — chat will fail" and "No model selected." That's expected at this point — we'll fix both.

Hermes One's main chat screen showing the API key and no-model warnings.
Part 2 — Patch the install from the terminal
At this point Hermes One is installed, but there's a good chance it's not a complete installation (remember that clone around 86%). To be safe, we'll patch it with the real Hermes repo using the official install script.
7. Close Hermes One, then open your terminal and run the command for your operating system.
macOS / Linux / WSL2 / Android (Termux) — open Terminal and enter:
curl -fsSL https://hermes-agent.nousresearch.com/install.sh | bash
Windows — open PowerShell and enter:
iex (irm https://hermes-agent.nousresearch.com/install.ps1)

Running the official install script in the macOS Terminal.
8. Let the script repair the install. If the earlier clone was interrupted, you'll see it detect the broken checkout, move it aside, and re-clone a fresh copy. This is exactly what we want.

The script detecting the interrupted clone and re-cloning a fresh copy.
Part 3 — Configure your provider (hermes setup)
Now run the setup wizard to add a real provider. If your shell doesn't recognise the hermes command yet, run source ~/.zshrc first (the installer reminds you of this).
9. Choose your provider. The wizard lists every supported provider. On macOS, use the arrow keys to navigate and Enter/Space to select — here I'm choosing Kimi / Moonshot. On Windows you may need to type the number that corresponds to the provider you want.

The provider selection list, with Kimi / Moonshot highlighted.
10. Pick the right variant. Kimi has a couple of endpoints — Kimi Coding Plan and Moonshot (China). Choose the one your key is for. I recommend the Kimi Coding Plan, as it's considerably cheaper than the standard Kimi API.

Choosing between the Kimi Coding Plan and Moonshot (China) endpoints.
11. Enter your API key. The wizard walks through each setting and shows your current values. Paste your provider API key when prompted (e.g. KIMI_API_KEY).

The setup wizard prompting for the KIMI_API_KEY.
12. Choose a default model. Pick whichever model you want as your default — here, kimi-k2.6.

Selecting kimi-k2.6 as the default model.
13. Choose a terminal backend. Unless you know you need something else, Keep current (local) runs Hermes directly on your machine. That's the right choice for most people.

The terminal backend options, with "Keep current (local)" selected.
14. Skip the advanced messaging setup. Next you'll see a list of platforms to connect (Telegram, Slack, WhatsApp, WeChat, Discord and so on). Skip this — it deserves its own guide. Just leave them unconfigured.

The messaging-platform integration list — leave these unconfigured for now.
15. Finish up. Select Done to complete the wizard.

The final menu — choose Done to finish setup.
16. Reload your shell. When setup finishes it shows you where your config lives and the handy commands (hermes, hermes setup, hermes config, hermes update). Run source ~/.zshrc so the hermes command is available.

The setup summary listing config locations and available commands.
Part 4 — Fix the settings in Hermes One
Reopen Hermes One and go to Settings. There are a few things to set so chat works and stays clean.
17. Notice the missing API Server Key. The Configuration Health audit will flag "No API_SERVER_KEY is set — chat will fail." Hermes' gateway requires this key to authenticate requests.

The Configuration Health audit flagging the missing API_SERVER_KEY.
18. Generate a key. Under Connection, click Generate & save a key for me. (Without it, messages may send but your conversation history won't be preserved across restarts.)

The "Generate & save a key for me" button under Connection.
19. Turn off anonymous analytics (optional). Under Privacy, switch off Send anonymous usage analytics if you'd prefer not to share usage data.

The Privacy section with the anonymous usage analytics toggle.
20. Check your providers. Go to Providers and make sure your provider and key are set correctly. If you entered a placeholder OpenRouter key during the installer, remove it here so it doesn't get used by mistake.

The Providers page showing the LLM provider keys.
21. Confirm the model + provider. The Model section should show your chosen provider (Kimi (Coding Plan)) and model (kimi-k2.6).

The Model section set to Kimi (Coding Plan) / kimi-k2.6.
22. Tidy up the model list. Go to Models. By default it's seeded with several models you won't use (Claude Sonnet, GPT-4.1, glm-5.1, etc.).

The Models page with the seeded default models.
23. Delete the unused defaults. Remove the ones you don't have keys for, leaving just the model you configured. This keeps the picker clean.

The Models page after deleting the unused defaults, leaving only kimi-k2.6.
Part 5 — Send your first message
24. Go to Chat. If the API Server Key banner is still showing, set it here.

The Chat screen with kimi-k2.6 selected and the API key banner still showing.
25. Set the API Server Key. Click into the banner and use Auto-generate to create a key, then Save.

The "Set API Server Key" dialog with the Auto-generate option.
26. Pick your model. Click the model selector at the bottom of the chat and choose the model you configured (kimi-k2.6).

The model picker in the chat box showing kimi-k2.6.
27. Say hello. Send a message. If everything's wired up correctly, Hermes replies — you're up and running.

A successful first reply from the Hermes Agent.
Part 6 — Adding another model
Want more than one model? Add it from the terminal, then select it in the app.
28. Run the model setup. In Terminal (or PowerShell) run:
hermes setup model

Running hermes setup model in the Terminal.
29. Choose the provider. Here I'm adding MiniMax.

The provider list with MiniMax highlighted.
30. Pick the variant. Choose the endpoint your key is for — e.g. MiniMax (China).

Choosing the MiniMax (China) endpoint.
31. Enter the key (and base URL). Paste your MINIMAX_CN_API_KEY when prompted; accept the suggested base URL.

Entering the MINIMAX_CN_API_KEY and confirming the base URL.
32. Choose the model. Pick your default from the MiniMax list.
Tip: For MiniMax, M3 is the most capable — and my pick for learning (see the recommendation at the top), thanks to its 1M-token context window. M2.7-highspeed is the fastest if you care more about speed than depth.

The MiniMax model list, choosing a default.
33. Confirm it's added. Back in Hermes One → Models, you'll now see both kimi-k2.6 and MiniMax-M3.

The Models page now listing both kimi-k2.6 and MiniMax-M3.
34. Select it in Chat. Open the model picker and switch to the new model.

The chat model picker with MiniMax-M3 selected.
35. Or switch with a command. You can also type /model in the chat box to see or change the current model.

Typing the /model command in the chat box.
36. Confirm the active model. /model shows the current model, provider and base URL — here, MiniMax-M3 on minimax-cn. You're all set.

The /model output confirming MiniMax-M3 on the minimax-cn provider.
That's it — you now have Hermes running locally with at least one working model, and you know how to add more. If you get stuck, the most common culprit is the incomplete install (Part 2) or a missing API Server Key (Parts 4–5).

Adam Maguire Wilson
AI & robotics advisor — China & the world
Adam Maguire Wilson is a Western technologist in Hangzhou — the city behind DeepSeek, Qwen, Unitree and Deep Robotics. Fluent in both the Chinese and global technology ecosystems and beholden to neither, he helps Western teams understand what China is really building, and Chinese teams understand the world beyond it — across model strategy, agentic systems, and the unglamorous engineering that makes AI dependable in production. Away from the screen, he is a photographer and PADI Divemaster.
More about the authorRelated reading
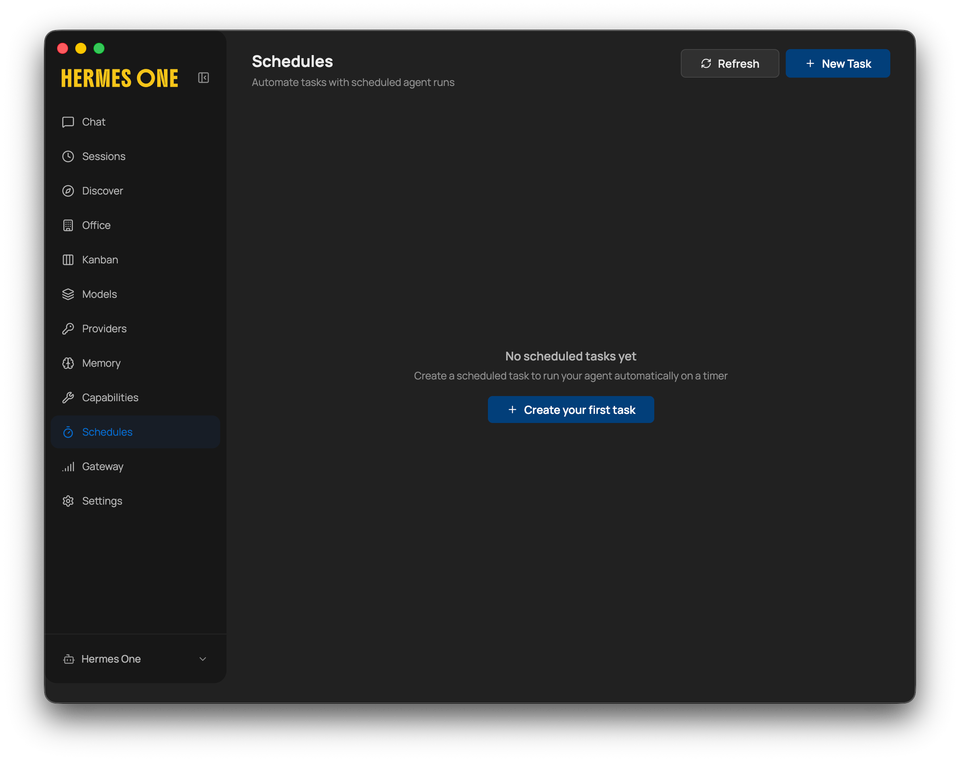
Setting Up a Scheduled Task in Hermes
Learn how to create a scheduled task in Hermes so your AI agent runs automatically on a timer — no manual triggering required.
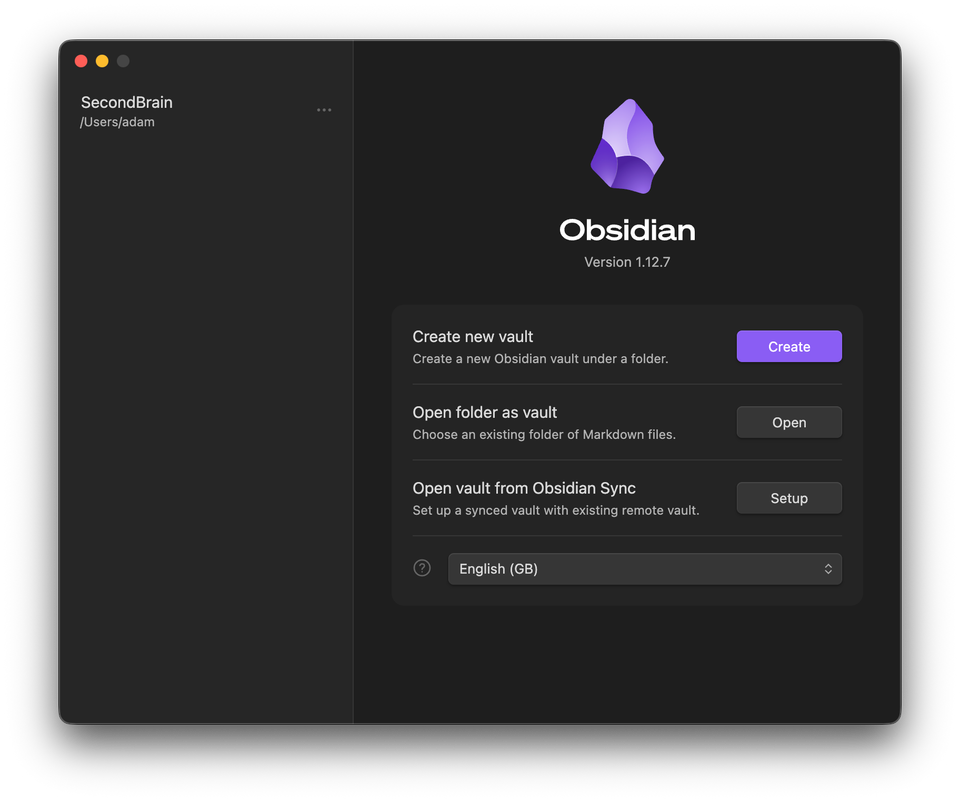
Setting Up Obsidian with Hermes One
Learn how to install Obsidian, create a vault, and let Hermes One automatically build a full PKM structure — then put it to work finding research for your MBA thesis.